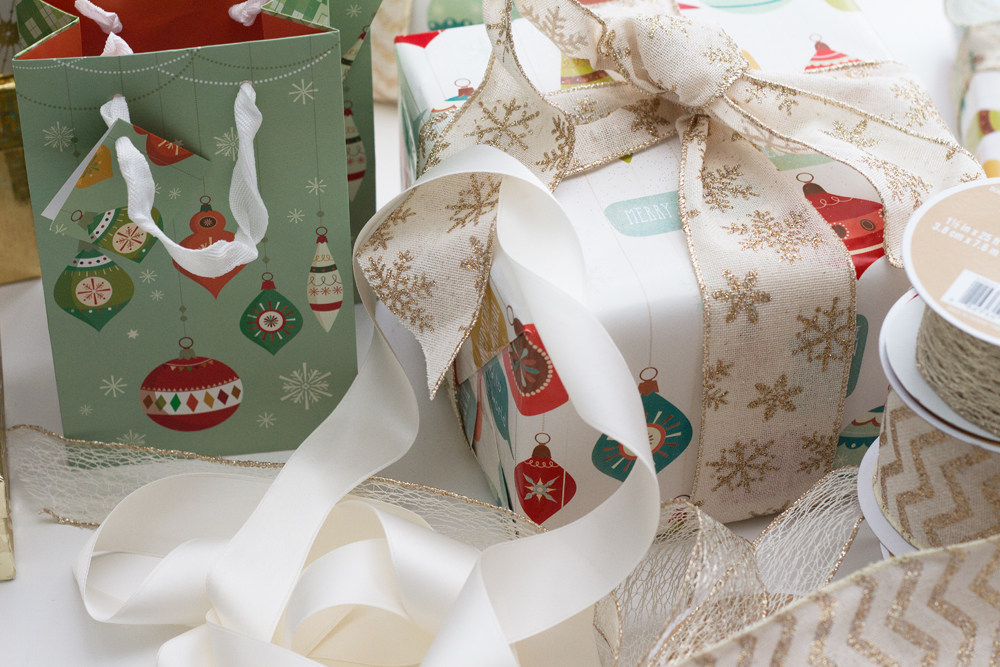
It’s been a very festive holiday start for Trix & Trumpet as we started gearing up for the holidays a few weeks ago. We’re participating in the St. Andrew’s
Here’s a really simple, quick and easy tinsel ornament DIY for the holidays. If you haven’t already noticed, I’m on a bit of a sparkly, tinsel-ly, shimmery thing right now and this DIY plays so well into that.
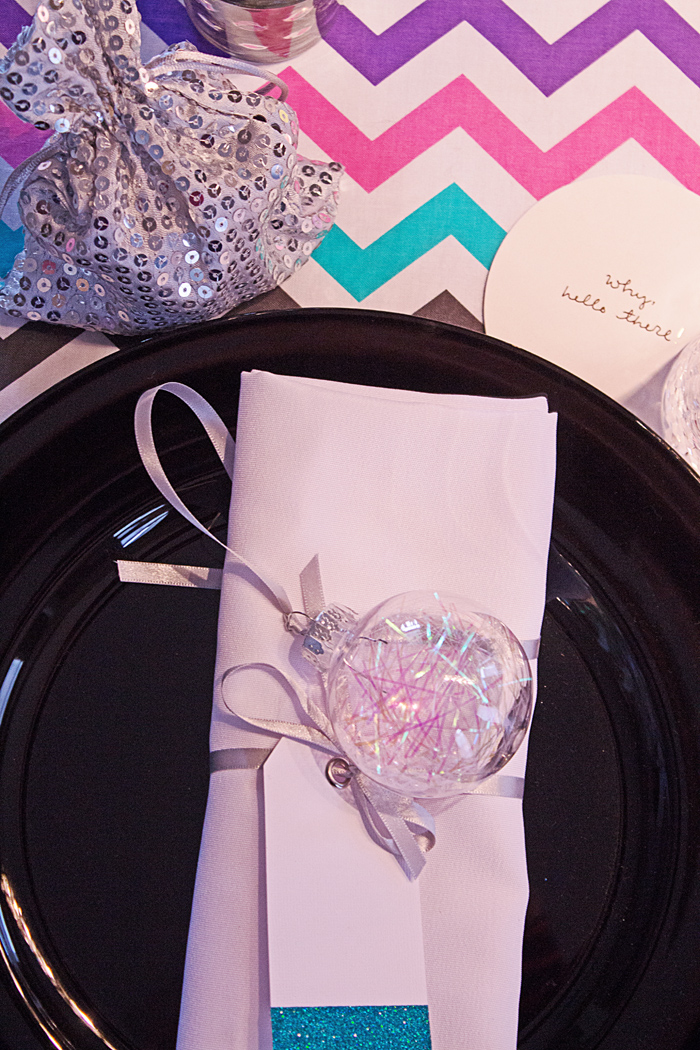
Making these Tinsel Ornaments are super fun and easy to do. Not only do they look great on a tree, but you can use them on your table as something for each guest or as tags for gifts. Choose varying sizes and shapes to give a little extra added dimension.
Are you ready? Here are the simple and easy steps to make your own Tinsel Ornament DIY.
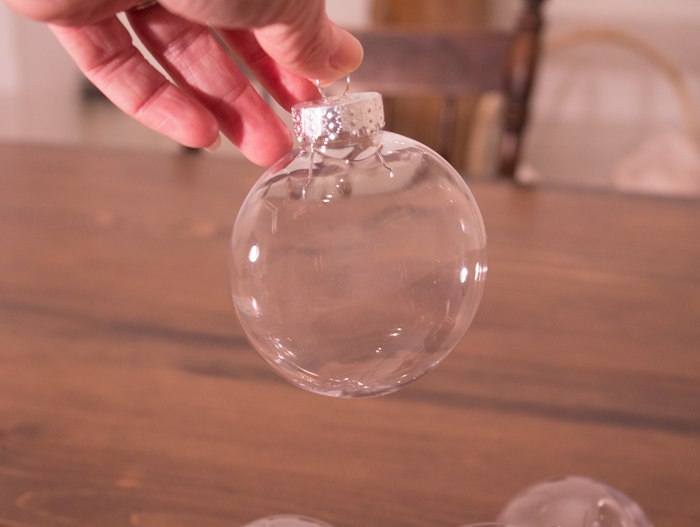
Step 1: Choose your Ornament
I like to use clear plastic ornaments because then I don’t have to worry about breakage (I actually dropped one ornament three times before I even started……seriously).
If you are giving it as a gift, you can use clear glass to give a more upscale feel, but either plastic or glass works well. It really is your preference.
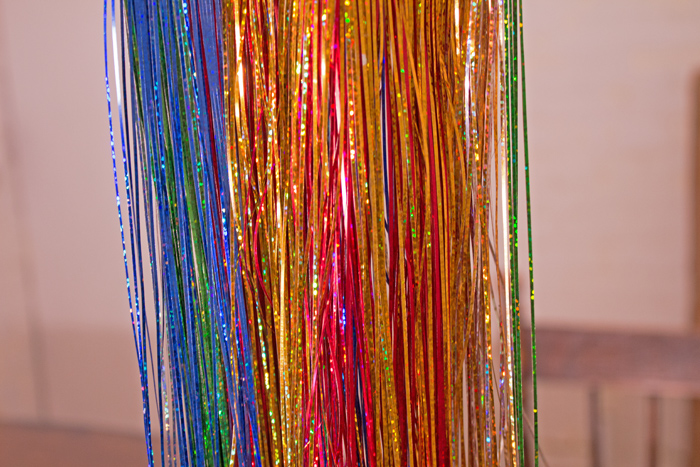
Step 2: Choose your Tinsel
You can pretty much get tinsel anywhere and in different widths and colour combinations. I chose some basic multi-colour and iridescent tinsel from the dollar store.
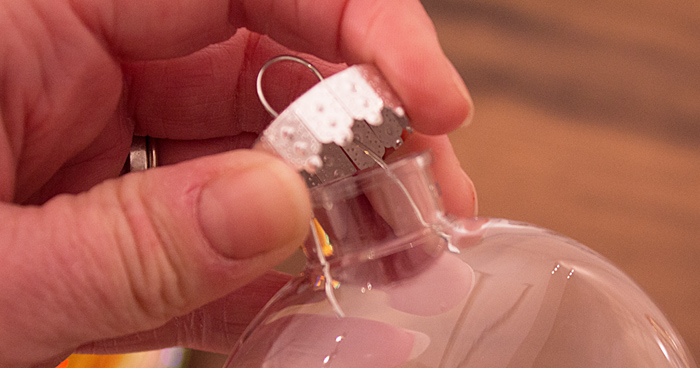
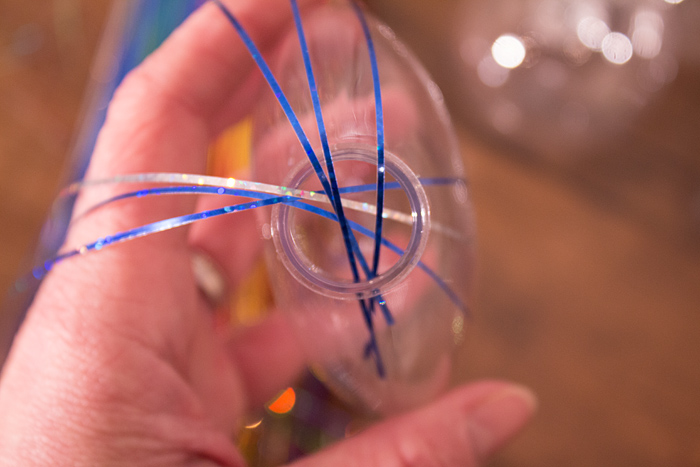
Step 3: Remove the Top of Ornament
Lightly pinch the top of the ornament and gently remove it.
Step 4: Cut your Tinsel
Cut your tinsel into smaller sizes. You can vary your size if you like. Pieces that are a little longer will wrap around the inside a bit, shorter pieces will fall in interesting ways.

Step 5: Start to Stuff
Stuff your cut pieces of tinsel into the top opening of the ornament. Continue to cut and stuff until the desired amount of tinsel is inside the ornament.


Honestly, that’s it! Replace the top of the ornament and you’re ready to hang on a tree or use for any type of holiday decorating you’d like. I love the way that the tinsel falls differently depending on the size and shape of the ornament and the length of the strands that you cut. It creates different and interesting looks.
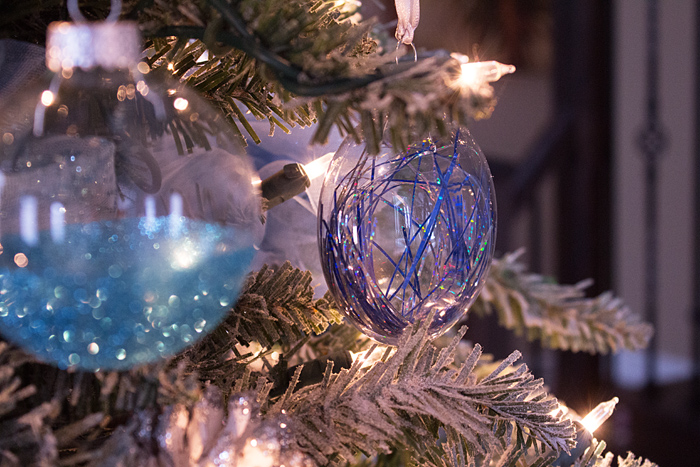
So, go for it and create your own tinsel ornament. Have fun and enjoy!


