The start of Fall is truly my favourite time of year. The colours, smells and textures at this time are ripe for inspiration, and with Thanksgiving approaching next month, it’s
Tassel garlands are really hot right now. No, sorry, that’s not really true. To say they are “hot” right now gives the impression that it’s more of a trend and something new that’s coming into the party planning mix. Tassel garlands have been around and are pretty much a mainstay now. No longer a trend, they are a go-to design element for many designers and individuals alike.
I think what is so attractive about a tassel style garland is the ease with which one can be made; tissue paper, fabric, yarn; you name it, it can handle a tassel. And it really is so super easy for anyone to do.
Tie in a colour scheme, add a little sparkle, experiment with texture. A fun little DIY tassel garland can do all of this.
I did this yarn garland for the Green & Teal Party I styled. I was faced with a boring and bland wall, so I needed to add something to it that had a bit of whimsy. This tassel garland was fun to do and honestly, pretty easy to pull together.

I like using yarn for tassel garlands because I really love the loose and unstructured effect that it gives. You can choose how long you want it to be, how loose, how tightly bound.
Yarn also provides you with a lot of opportunity to mix colours, textures and scale. There are so many varieties, that each tassel is a bit unique to the others making it visually appealing and a ton of fun to create. Plus, yarn is pretty much available everywhere so finding and sourcing your supplies is super easy.
And the thing is…you really can’t mess it up.
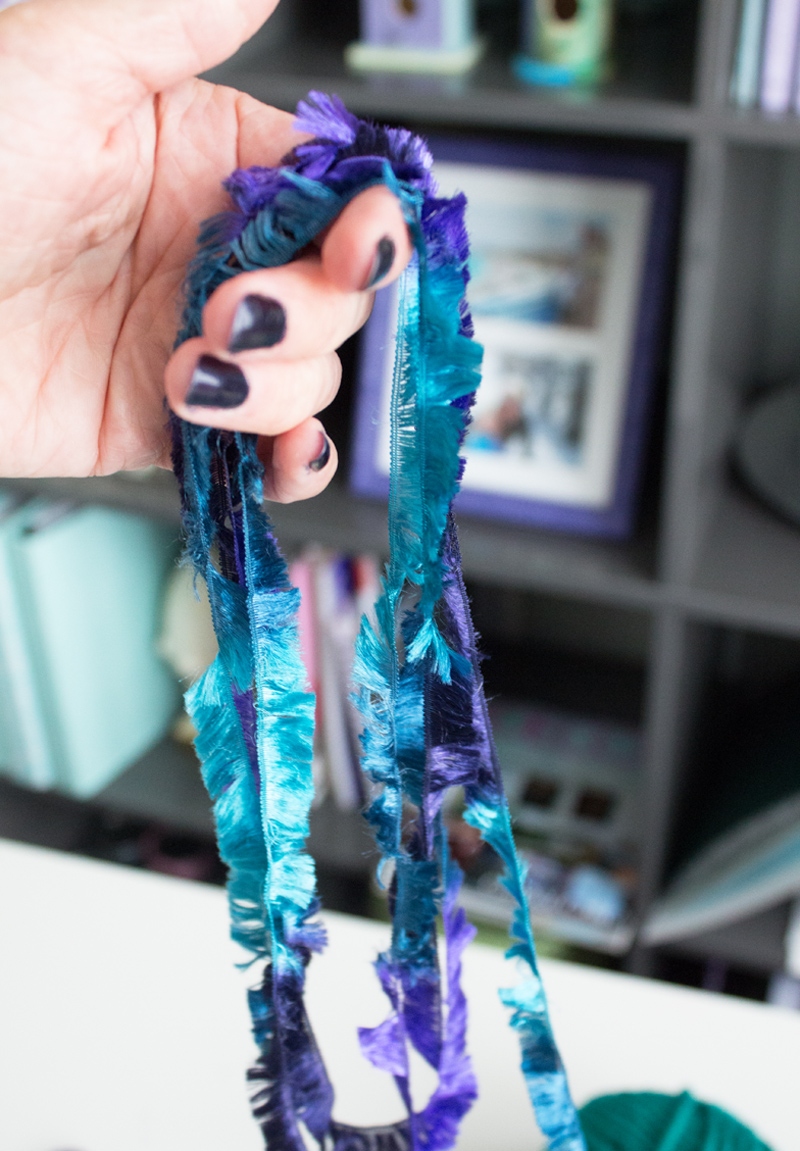
So, follow this step-by-step to make one of your own. Since we’re now firmly in Autumn, I’ve updated the colour palette to rich plums and teals; colours that inspire me this time of year.
Step 1: Select Your Yarn

Step 2: Wrap yarn around hand in a large ring. Cut when you have the amount you like.

Step 3: When you’ve made all the rings you would like to include, scrunch them together in a bundle. Cut another piece of yarn and wrap around top portion of your bundle to secure them together. Leave enough space for open loops at the top to weave ribbon or yarn to hang it.

Step 4: Cut the bottom to desired length. This will also give the tassel effect to the ends.


Step 5: Use a length of ribbon or yarn and weave it through the loops at the top of your tassels. Hang it for you to enjoy.


Simple, fun and easy. I really like the shimmery effect from one of the yarns I chose. Have fun with yours, selecting the colours and textures that inspire you!