One benefit of waiting around an airport for your plane to leave is having uninterrupted time to do something we don’t always get a chance to do. For me, on a recent New York jaunt, that meant I had lots of time to tuck into a ton of magazines.
As I was reading through my stack, I saw this DIY in the House & Home magazine and thought it was cute and clever, so I wanted to try my hand at a version at home.
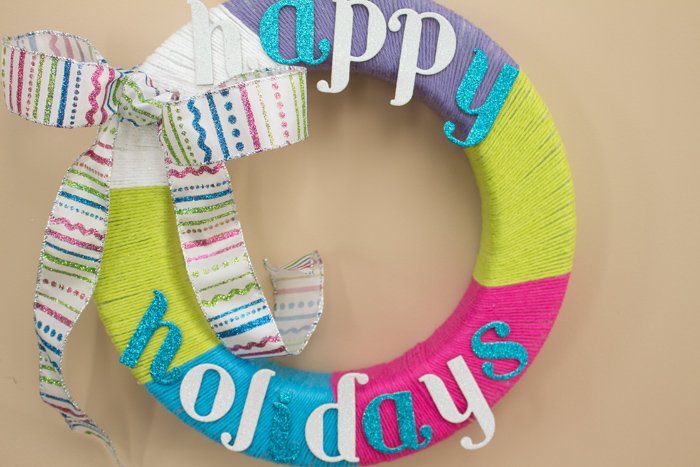
It’s really simple and you can have fun playing around with different yarn colours or added accoutrements. I also think it can make a fun hostess gift as you can really play up, or tone down, any element you want.
DIY Yarn Wreath
1. Get your supplies

I like using a styrofoam wreath because you can stick things easily into it which helps avoid the use of glue. You’ll also need some scissors, push pins and an assortment or yarn in colours that you like.
2. Cut strips of yarn

You can be all fancy and measure each length, but I just eye-balled it and went with it. I used a longer length which gave me wider colour strips along the wreath but, you can add more strips as you go along, so if you feel more comfortable with a shorter length, then go for it.
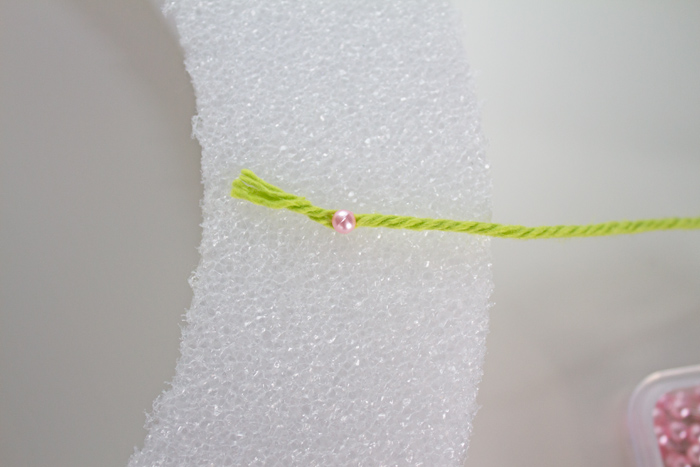
3. Secure the yarn strip with a push pin to the back of the wreath.
4. Wrap the yarn around the wreath

That’s it. The advantage of working with the styrofoam wreath is that the yarn sticks well and there isn’t much slipping. Make sure to wrap each pass close to the previous one so you create a snug fit.
The disadvantage to working with styrofoam is that is can shed as you are working with it so make sure to do this DIY in an area that you can easily clean.
4. Secure ends together with a push pin on back of wreath
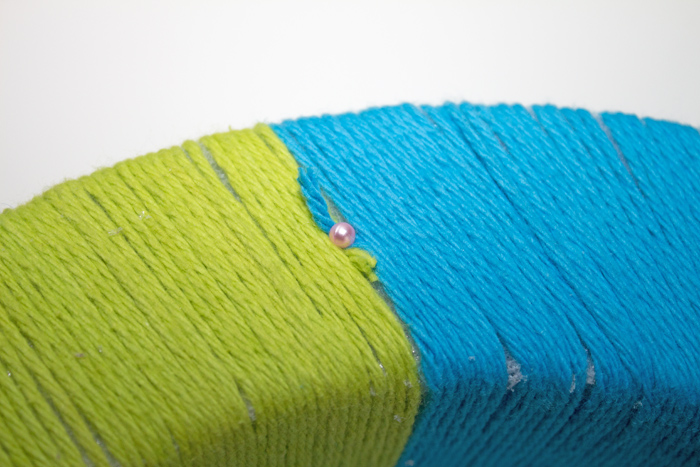
5. Keep wrapping new yarn colours until completed

Working with a circular shape can be tricky as the curves mean you will have to make some adjustments where more styrofoam shows. If you find that one section (likely near the end of your last colour) has more of the styrofoam showing through, just cut another piece of yarn and wrap around it. It’s okay if the shape or direction changes a bit, that gives it personality.
6. Jazz it up
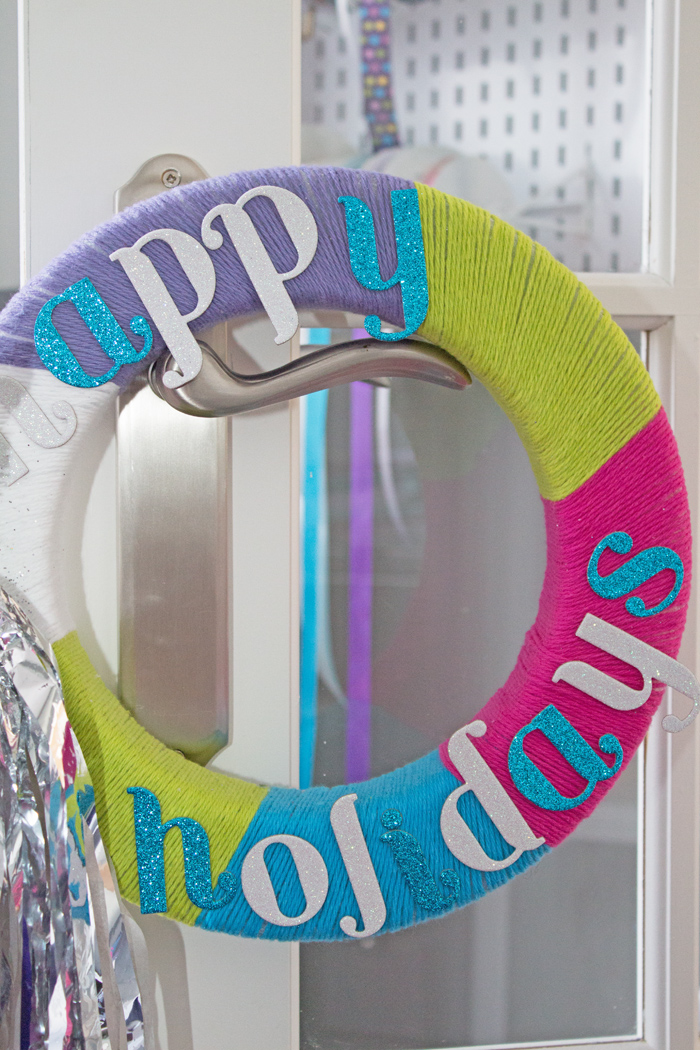
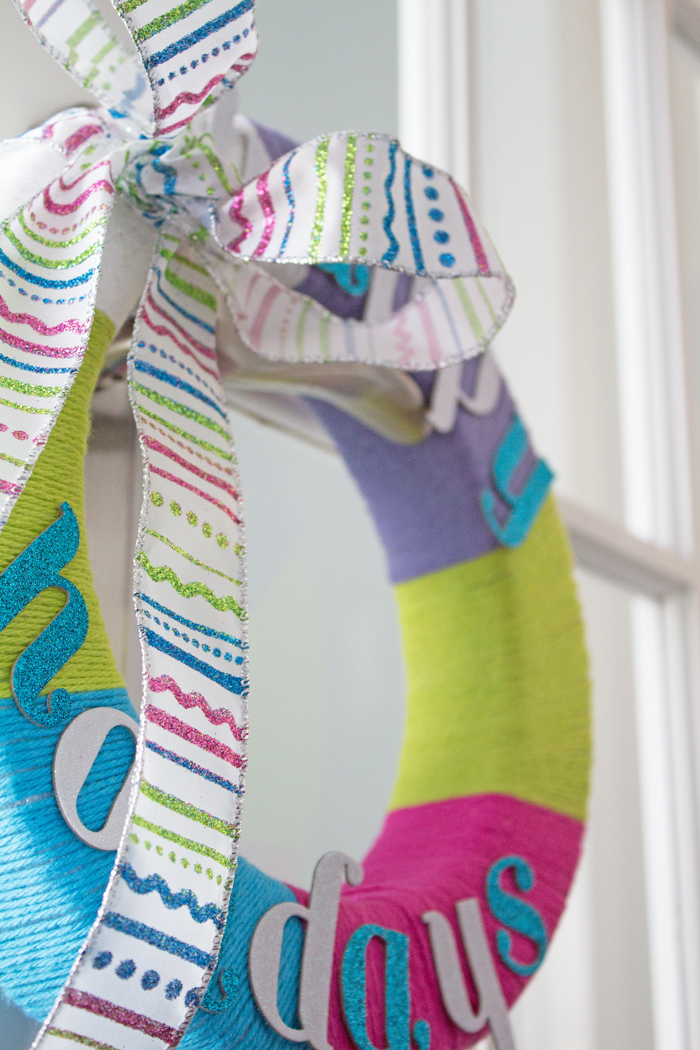
Add ribbons, glitter or picks. The styrofoam is fantastic for holding things so have fun with whatever is inspiring you. I chose to add glitter adhesive letters used in scrapbooking and colourful ribbon. Berry or floral picks could also work really well. You just can’t go wrong.
Have fun!