In the past, I really wasn’t a do-it-yourselfer. I am really great at knowing what I want and pulling all the elements together, but I just need someone else to make it. But lately, I’ve been more and more inspired to start doing things on my own. With so much access to great tutorials and inspiration boards, finding a project that is manageable for me has been a fun search and it’s a great way to inject more of your personality into an event.
DIY banners have been around for quite some time. They are a really great way to add some interest to a party, used a lot as draping on a bare wall, or over-top a dance floor or table.
But, there is just one teensy problem with a lot of the do-it-yourself type banners….most are made from fabric remnants and well, besides some pretty amazing dog beds, I am not the most adept with fabric. And many of us don’t have extra fabric lying around, nor do we aspire to visit the fabric store to navigate a fun pattern or type. And there are so many types of fabrics….which one is the easiest and best to use and work with?
For experienced DIYers, it would be an easy project to do, but for the novices (or patience lacking like me), it is a little challenging.
But, then it hit me; I can do this project, just by using some wrapping paper. I always have some interesting wrapping lying around and even if I didn’t, it’s a product that’s readily available practically everywhere, so getting it would be easy. Plus, if I used yarn to weave them together it could be a really cost effective, quick little project for any party. Yes, yes, I can do this!
And I did do it and it was really easy. It is one of the components of a party I styled recently (one of which I will reveal full pictures of soon), and the flag banner looked great, added interest and I even received a few compliments; now that’s pretty cool.
Here’s the low-down on what you need to do.
What you’ll need:
- wrapping paper rolls. I chose two different, complimenting papers but you could use any number of patterns or styles if you’d like
- scissors
- a heavy cardstock to cut a triangle template from
- hole-punch
- yarn
The process:
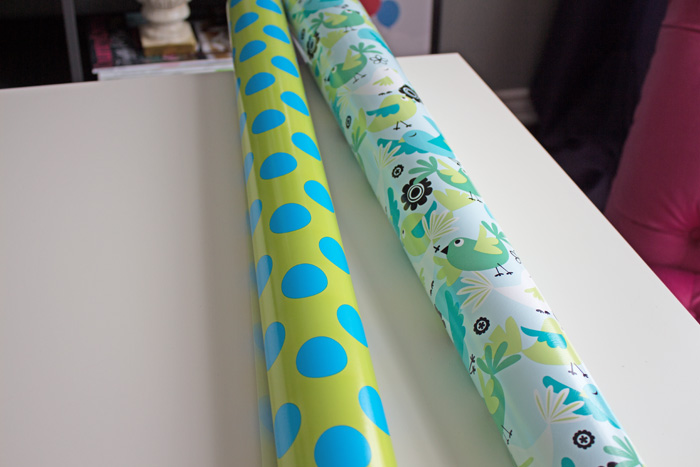
Step one: find some really cool wrapping paper that your like and that works with your party decor.
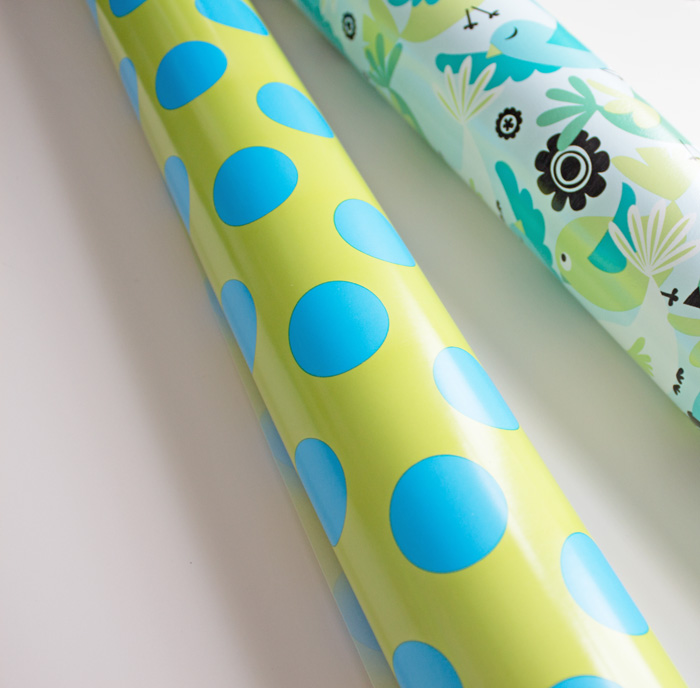
Step two: wrapping paper in a roll is much better to use than folded sheets; there are no lines or folds.

Step three: find some heavier card stock and draw a triangle for your tracing template.

Step four: cut out your triangle tracing template.

Step five: roll out your paper and trace your triangle onto the paper, using the top edge as your guide and one side.

Step six: finish tracing along the length of your paper.

Step seven: cut out all your traced shapes.

Step eight: use your hole punch and punch two holes at the top of each triangle.

You could use a single hole punch as well but by using two of the hole punches from a three-ring hole punch you can ensure that the holes are lined up perfectly.

Step nine: gently weave a long piece of yarn through your triangles in a pattern and length that’s good for you. Feed the yarn through the front hole, pulling through behind each triangle.

Step ten: continue this weaving process until you have the length that you like.

My easy DIY flag banner added a little interest and colour against a very bland backdrop. It’s fun, whimsical, easy and you don’t need to have any special skill to make it work. Perfect for any party.
See how easy it is? This last picture is from the party that I styled and it’s where I bring it all together. Remember the cake stand that was my anchor piece for this party? You can check out that post here and stay tuned for more from the party and how it all came together.
Have fun playing with different colours and patterns and let me know how it goes.
Wow. Super cute and easy idea. Love the colour combo!
I know Vanessa. I like how quick and easy it is and the colour possibilities are endless.
[…] This DIY flag banner uses left over wrapping paper to create a fun effect. Use whatever you have around the house, wrapping paper, magazines, construction paper….whatever, for instant party decor. […]