
It is no secret that I adore fabric and linen. I’m not sure where this came from but it is a true passion and I get a little giddy when
Taking pictures has never been easier. With smartphones and new DSLR cameras, even the novice photographer can take fantastic shots.
As I’ve taken a more hands-on approach to photography, I’ve learned a lot about what might go into making an image really pop.
And one of those things is to have a great backdrop.
An amazing view, a bright wall, a clap-board fence…..the backdrop to your image can really transform it.
Sometimes that’s easier said than done.
We can’t always manufacture the perfect setting or backdrop, but, with a few supplies, you can create a fun, whimsical and interesting backdrop that you can use in your photographs.
This DIY Fabric Backdrop is so, so simple it will take no time for you to make.
It is no secret that I have a love affair with textiles. Fabric is an event planner’s essential so naturally, I think fabric can make an excellent backdrop.
Here’s the steps to creating your very own fabric backdrop.
Step #1 – Find a Fabulous Fabric
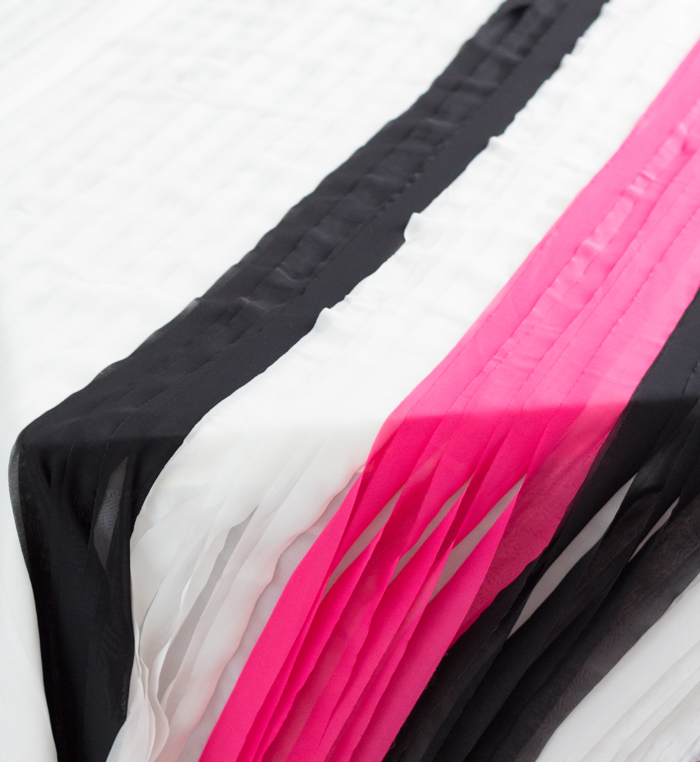
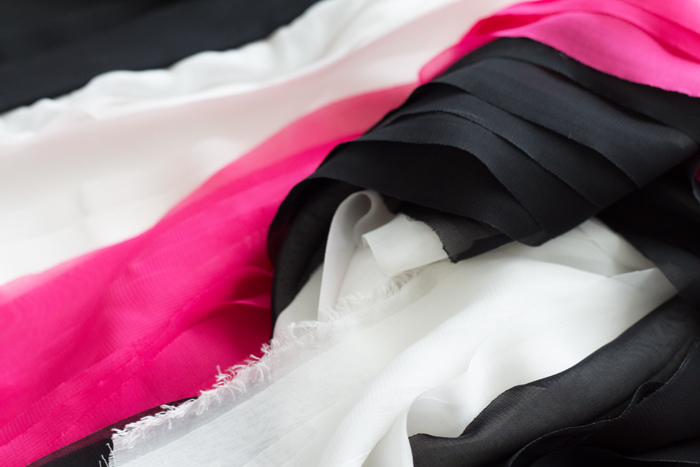
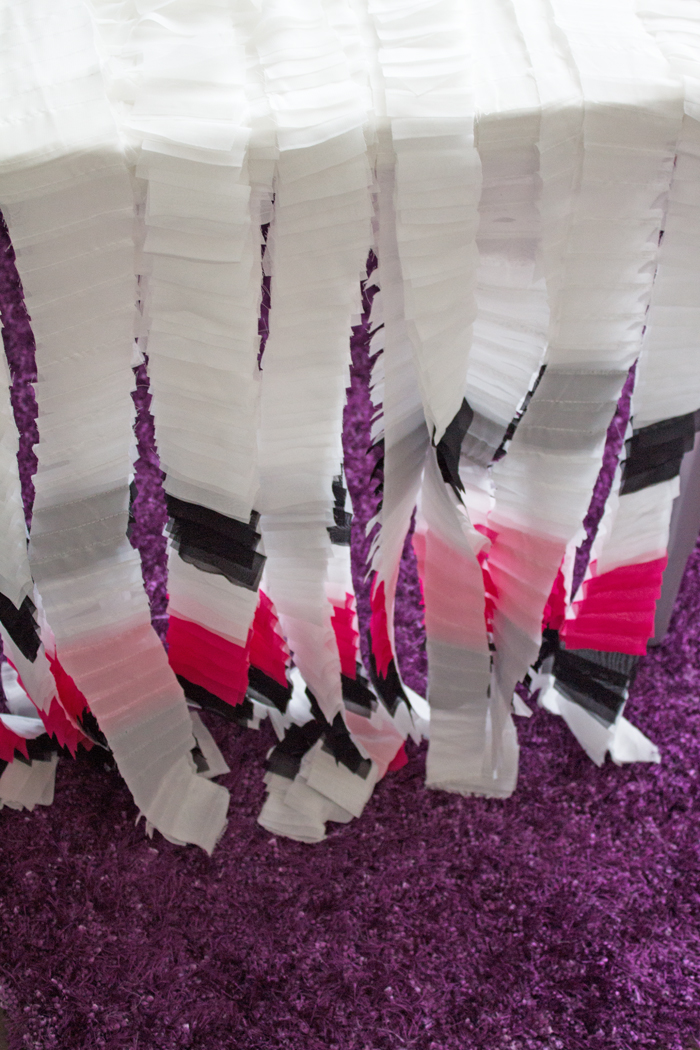
I had my eye on this fabric for sometime but it was always more than I wanted to spend. Pleats of fuchsia, black and white were interesting and intriguing. But, because of it’s hefty price tag, I only just admired it and never purchased.
When it was 75% off though, well, I just had to have it!
Keeping an open mind, snatching up something great when you find it, maybe even splurging if you really love something…finding that perfect fabric is the start to a great design.
Step #2 – Decide on how much you will need
Figure out the size of your backdrop and purchase your fabric accordingly. I wanted a tighter design so I opted for 2 1/2 yards of fabric. Taking a little time to measure your space, or conceptually thinking about the look you want, will ensure that you have enough fabric to bring your look to life.
When in doubt, always buy more than you need. You can always add more to your design, or use the extra fabric for another project.
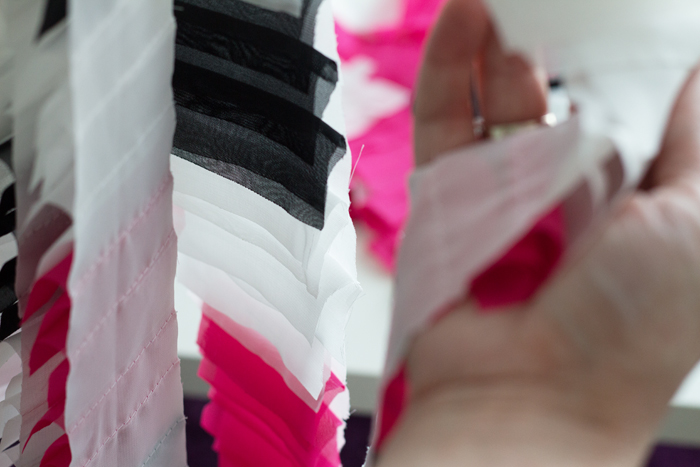
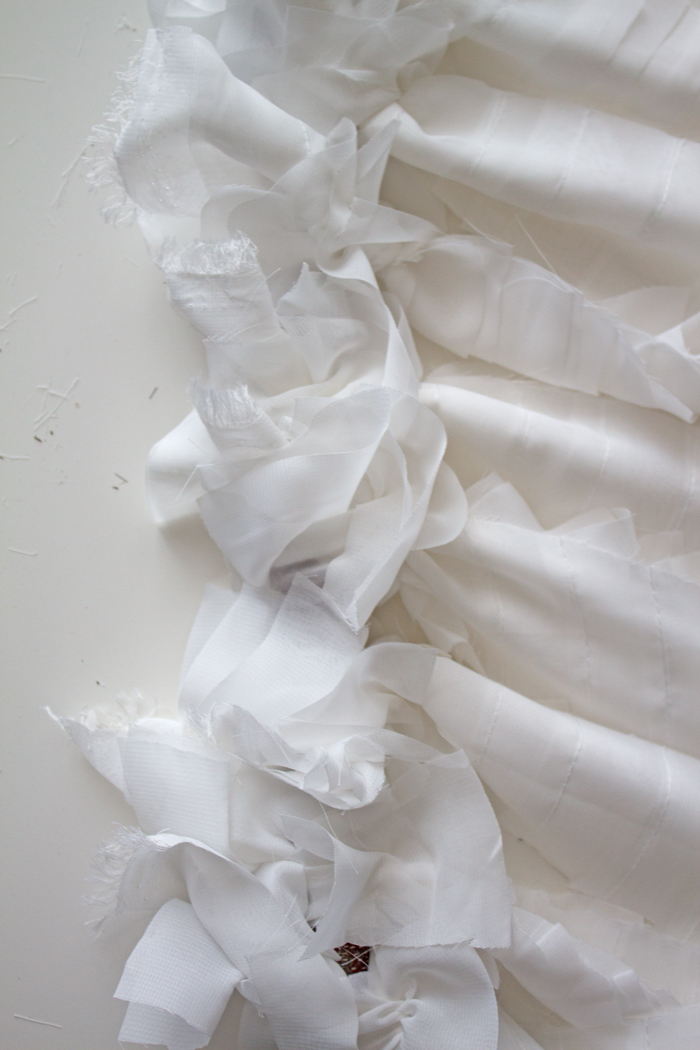
Step #3 – Cut your fabric
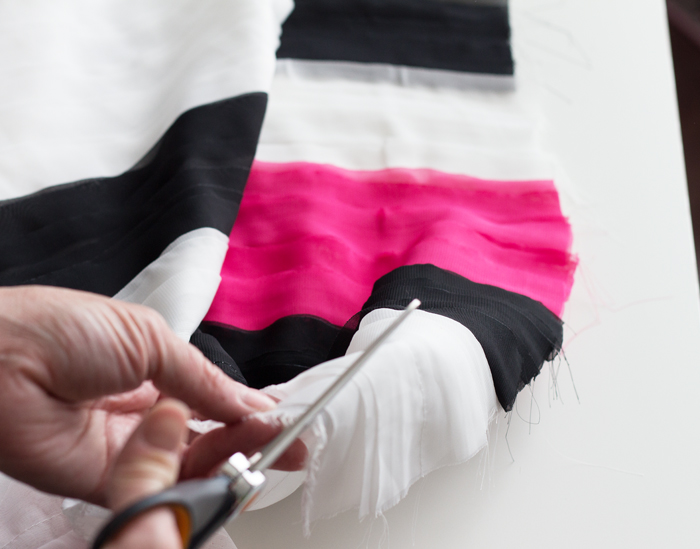
For this backdrop, the fabric will be in pieces, so you can either measure out specific widths or just free-hand it as I did.
Cut along your fabric, creating strips until you have worked through all that you need.
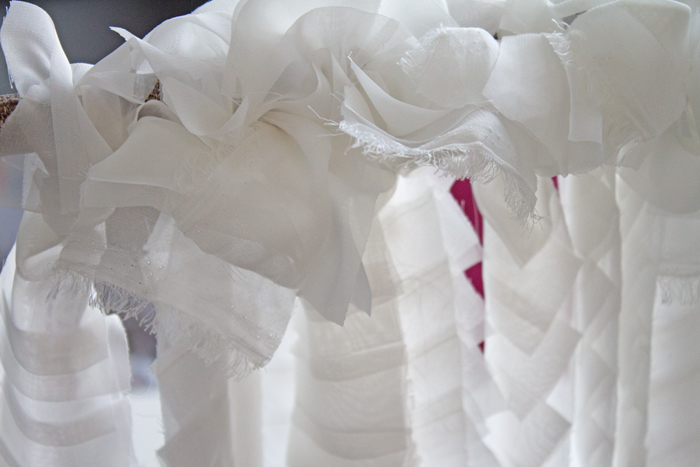
Step #4 – Find something to hang the fabric from
Each piece of fabric will be tied at the top to a rod to anchor it. What do you have around the house that could work?
I used a fallen branch and began tying the fabric pieces around it.


There is no rule here. Tie as you like.
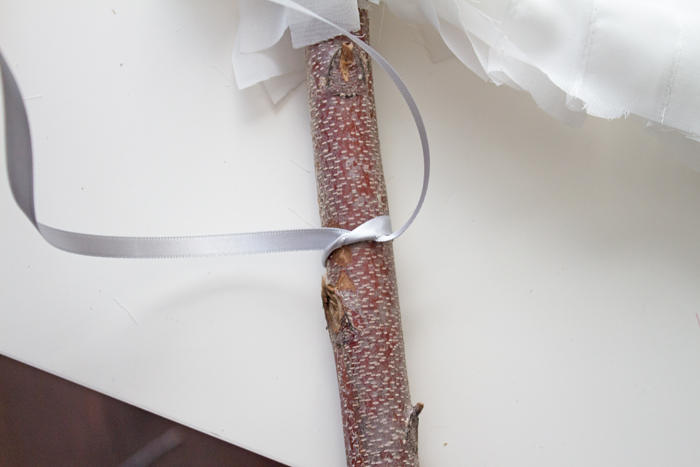
Step #5 – Use ties around your rod
Your finished product will have to be able to hang from something, so use twine, ribbon or yarn around your rod in order to tie and suspend your fabric backdrop.

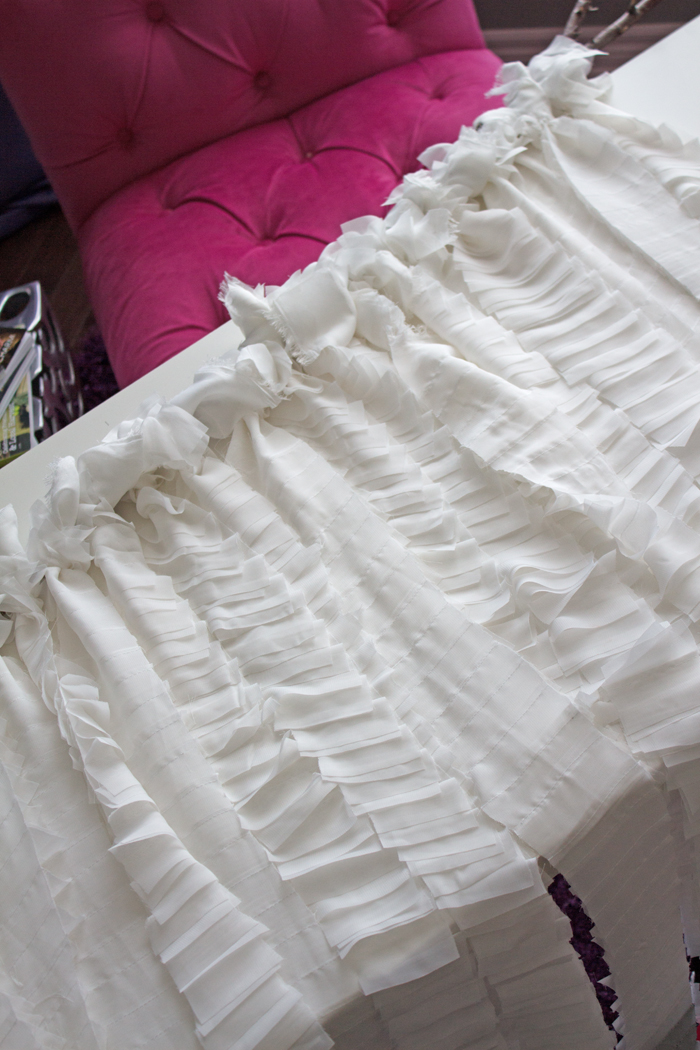
Step #6 – Hang your beautiful DIY Fabric Backdrop!
Now, just hang your fabric backdrop wherever you’d like.
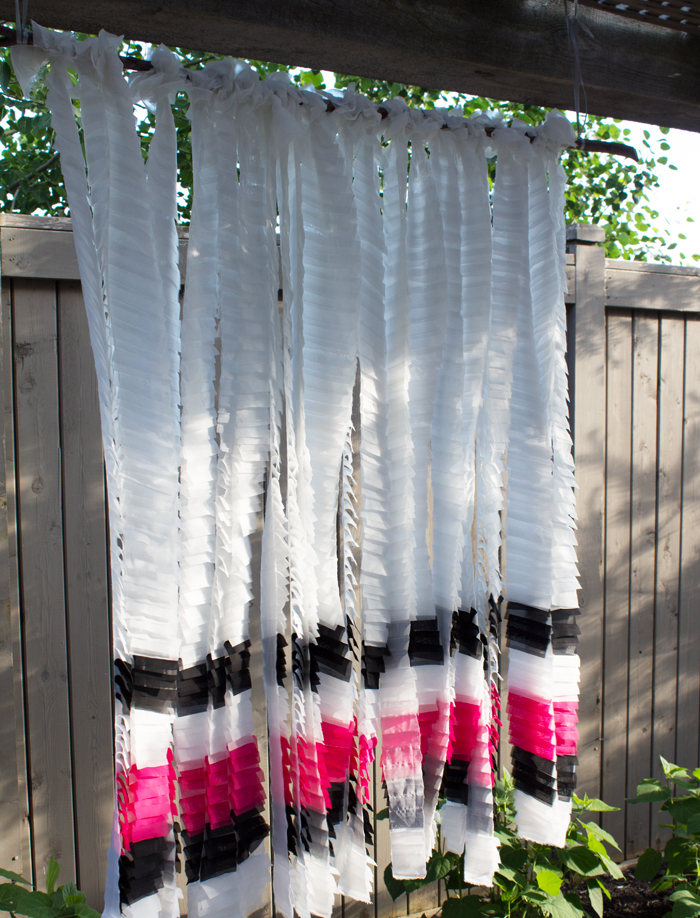

I really like how fabric sways and moves with the wind. It adds the movement to your photographs.
You can even create multiple panels and use not only for photograph backdrops, but as space dividers; create rooms and spaces simply by hanging the fabric backdrops creatively.
So, there you are; a DIY Fabric Backdrop that’s simple and easy and fun to make.
Enjoy.


